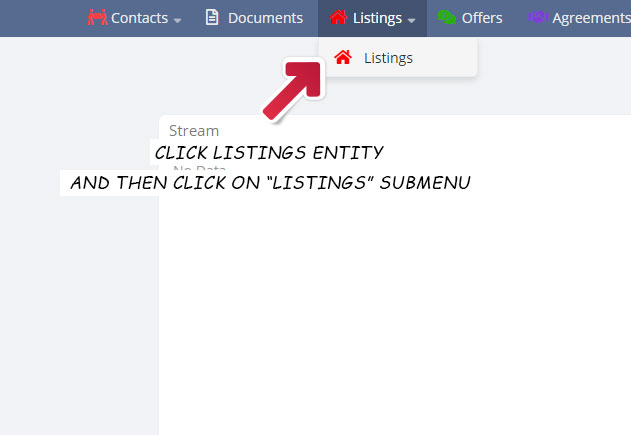
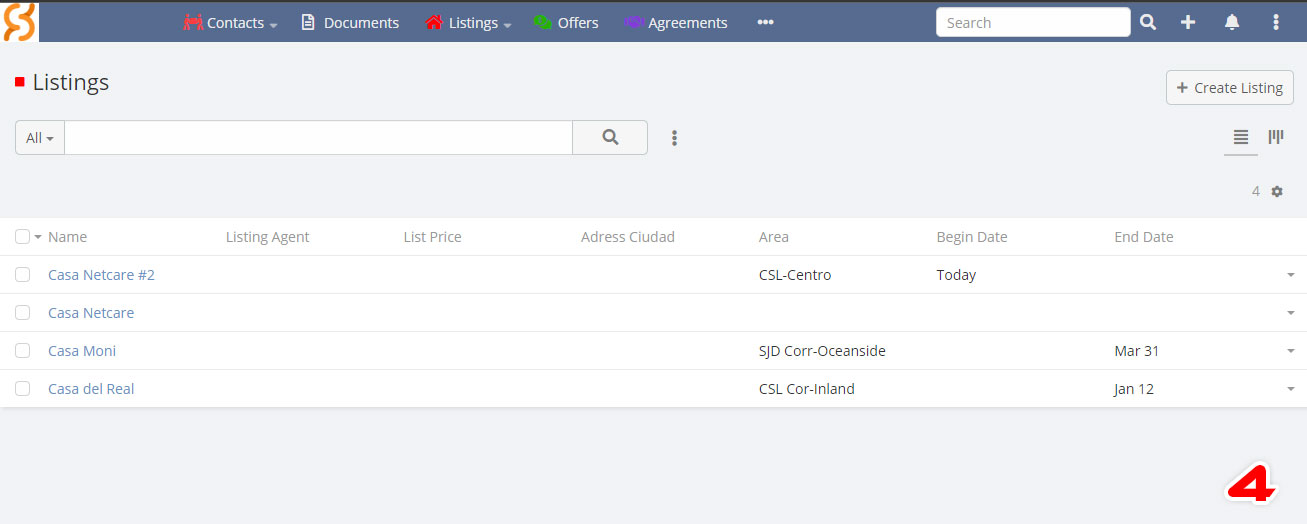
The first step is to login in your dashboard and search for the entity called “listings”. Click on it and then click on the Listings submenu. Here you’ll be able to create and manage listings with the next options.
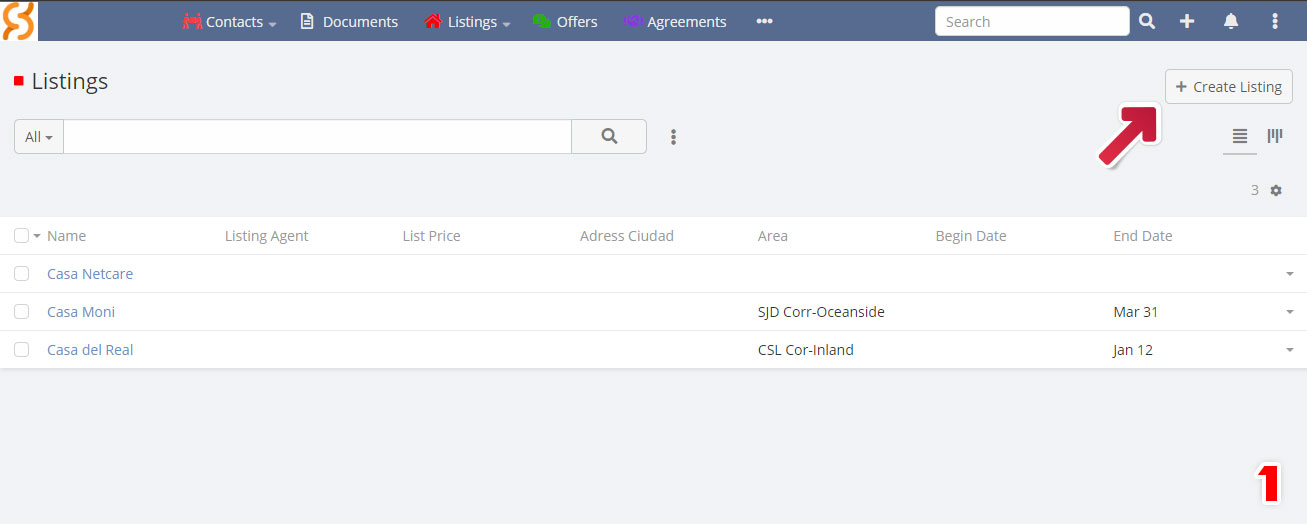
With the following listed steps you’ll be able to add listings with the information you have.
Click on “+ Create Listing” button,
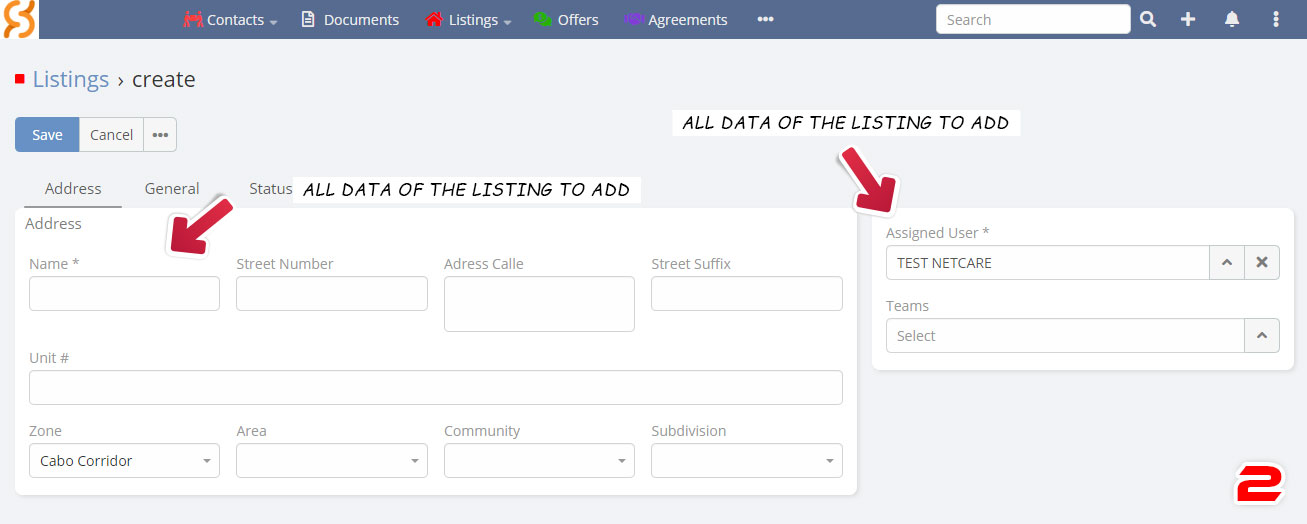
Fill all the fields with your listing information and assign the user that’ll manage it.
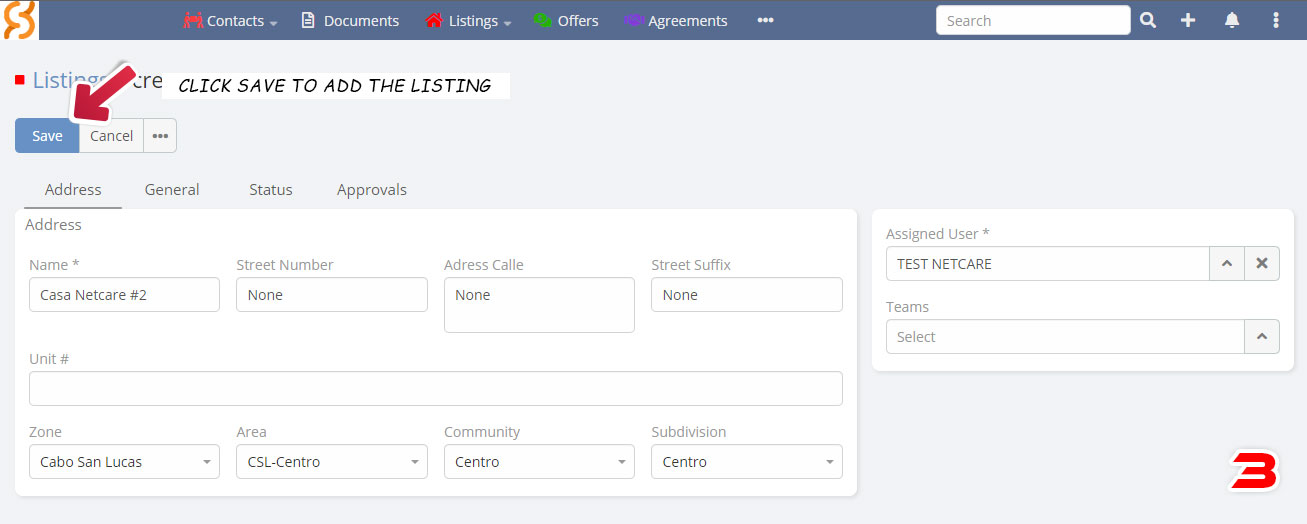
Click the “Save” button,
Then you’ll have your new listing added automatically at your listing screen.
Finally you can check all the information of your listings and with the possibility to edit if needed.
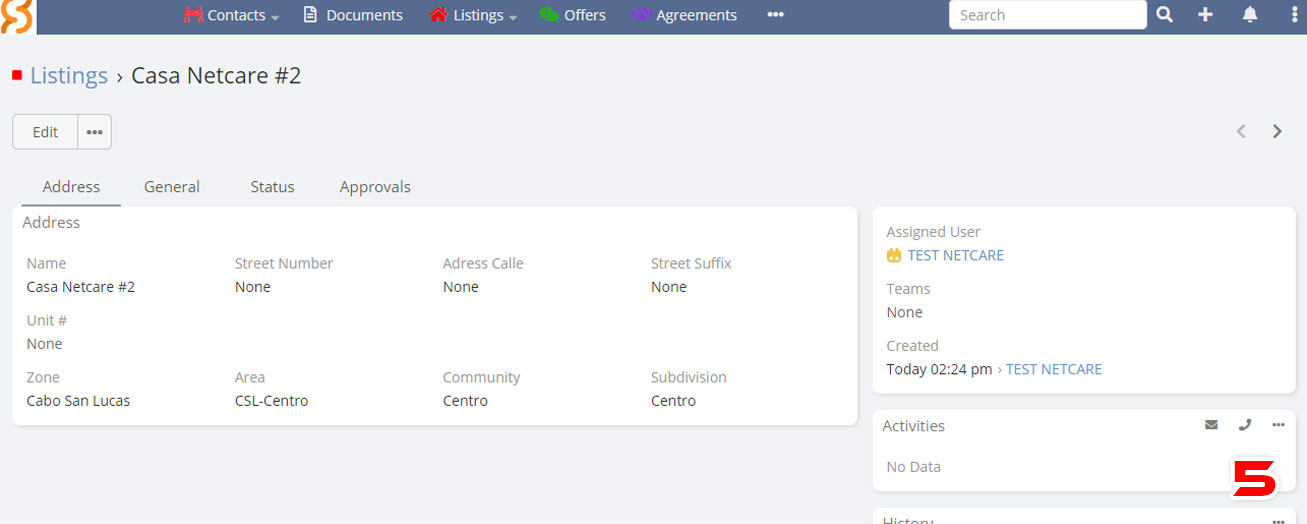
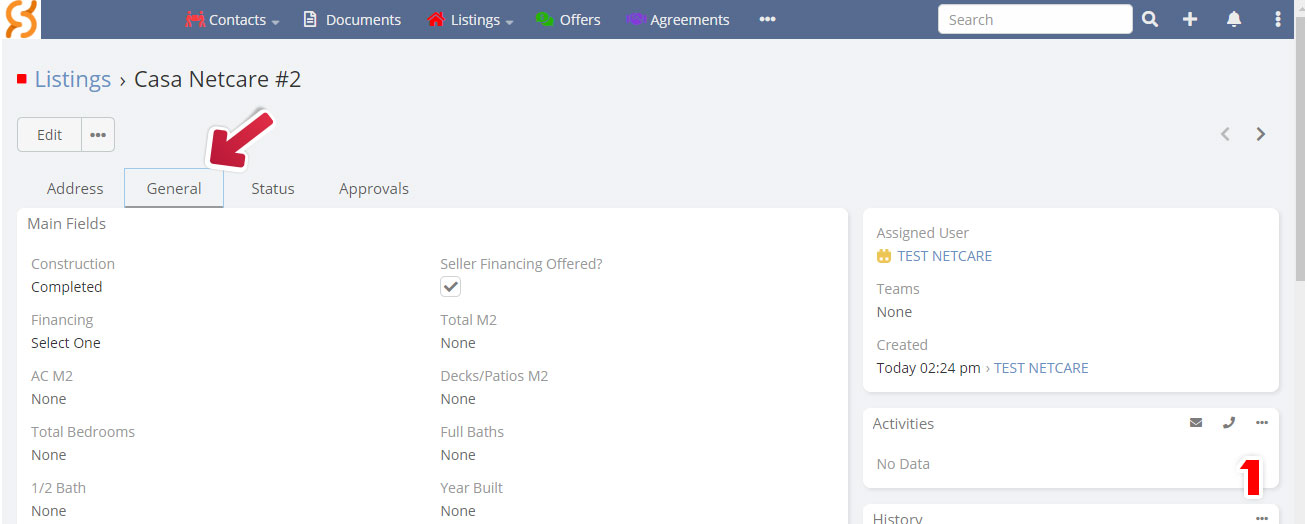
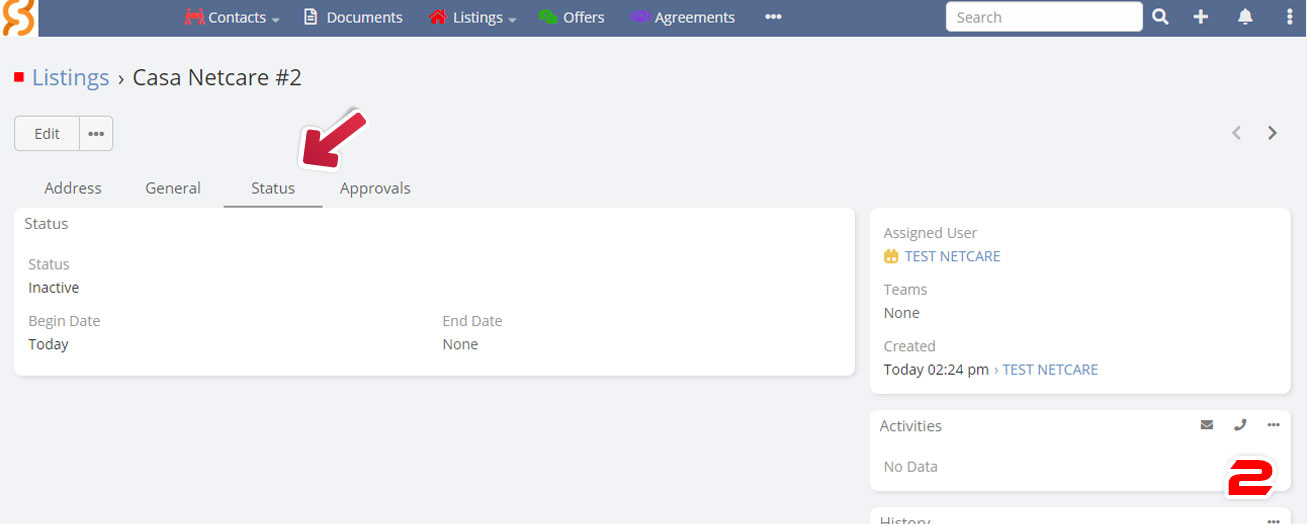
There is also additional information you can add to your listings
General: Here you have a variety of fields to fill out with important information about your listings. such as; Construction status, if the seller offers financing, total square meters, number of bathrooms, etc…
Status: Here there are 3 basic fields such as the status whether active or inactive, when it began to be for sale and when it was sold in case the property has already been purchased.
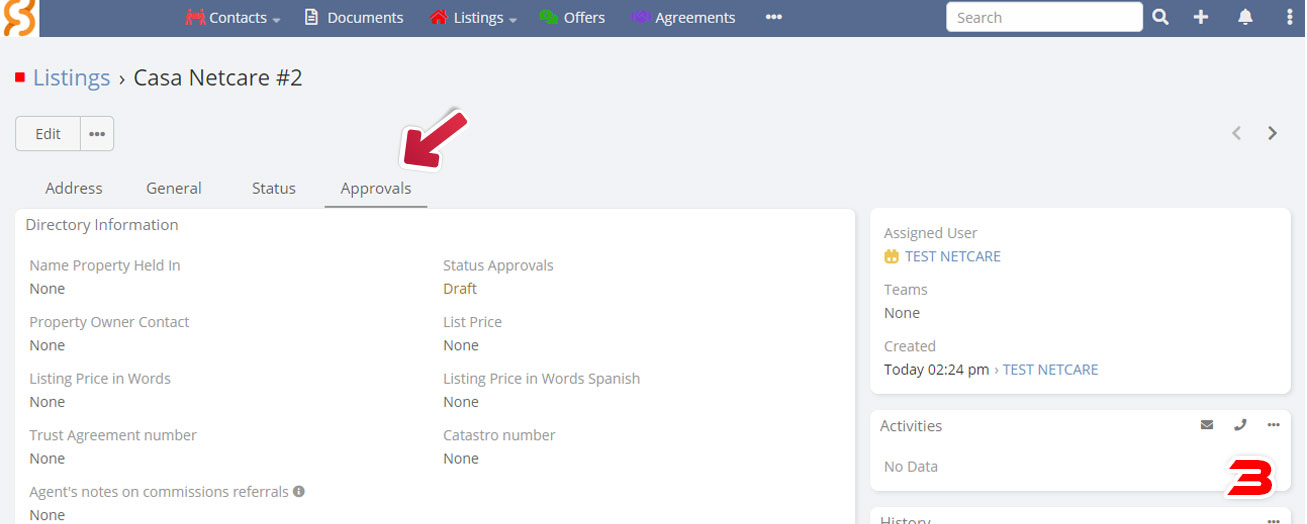
Approvals: In this section there is very important information in order to fill listing agreement.
Already getting used to it?
You can explore what else we have to offer, you can go back to the Real Estate index.